Back to Index
Worksheet 4 - Textures
Add colour
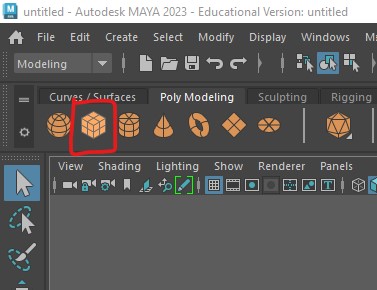
Create a new scene
Add a polygon
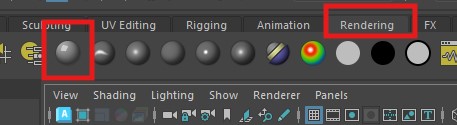
Add a material
With the cube selected
-
In the Rendering tab, select
Standard Surface Material
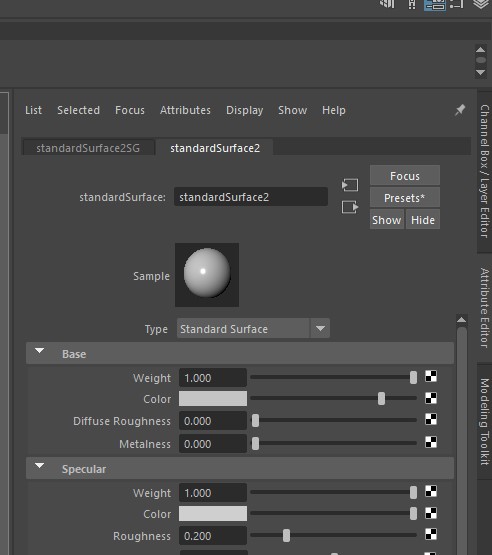
The Attribute editor should open on the right of the screen showing the
StandardSurface2 tab open.
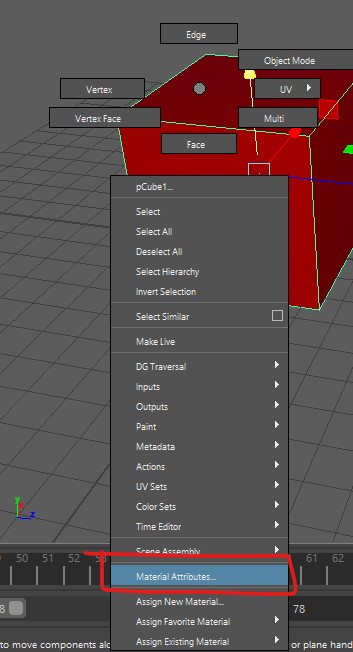
NOTE : You can see the material on any object by selecting it, then
holding down the right mouse button and selecting
Material Attributes
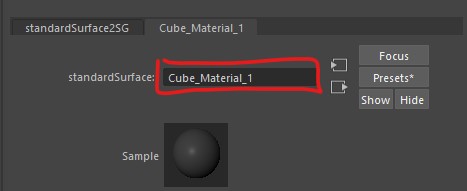
Change the name
-
Change the name to "cube material 1" and press enter.
It is really important to name materials to avoid confusion later on
when you have multiple materials.
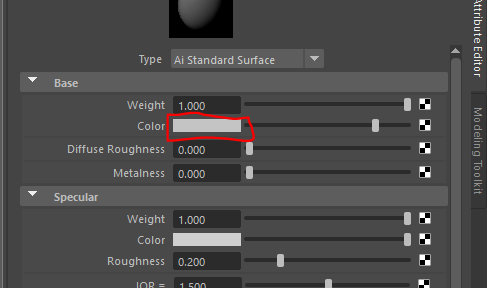
-
Change the colour of the material by double clicking on the box next to
Color
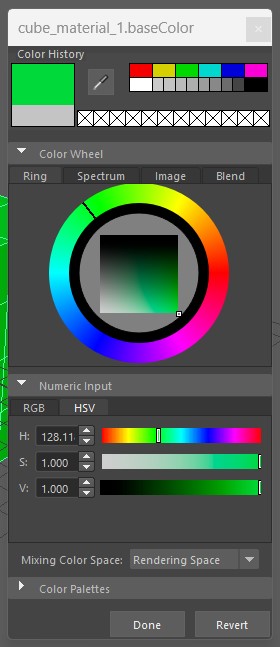
-
Press Done and Your cube should now appear as that
colour.
-
There are lots of options to adjust the material, you can adjust the
metalness and roughness but the full effect will only become clear
when we move on to lighting and rendering next week.

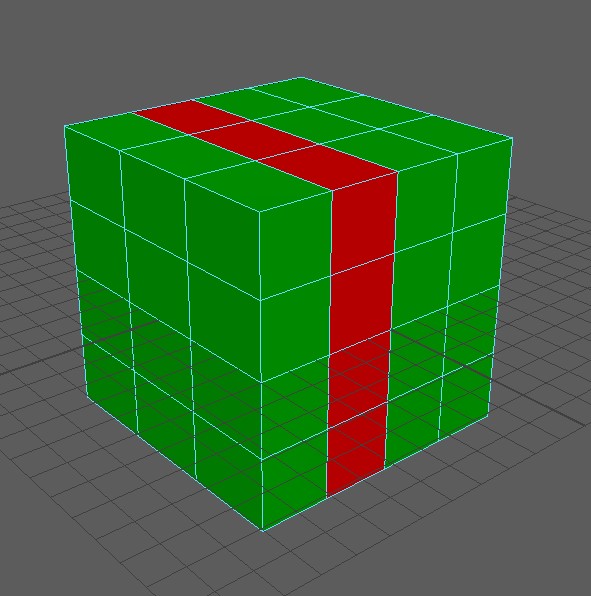
You can apply different materials to different faces.
-
Select some faces and apply apply a new standard surface material.
Adding an image map
-
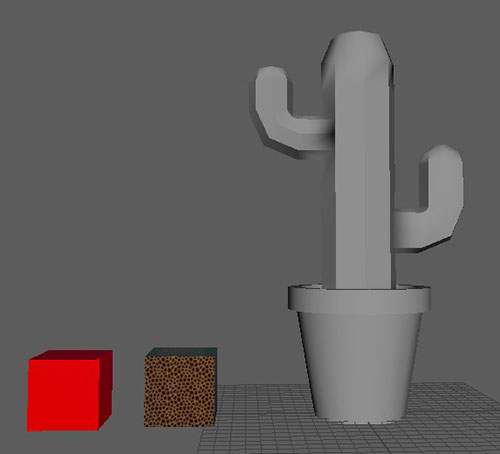
Create another cube, move it next to the first and assign a new
StandardSurface material just like we did above.
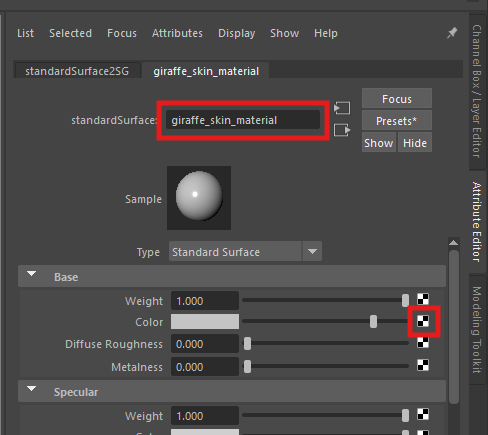
- This time, name it "giraffe_skin_material"
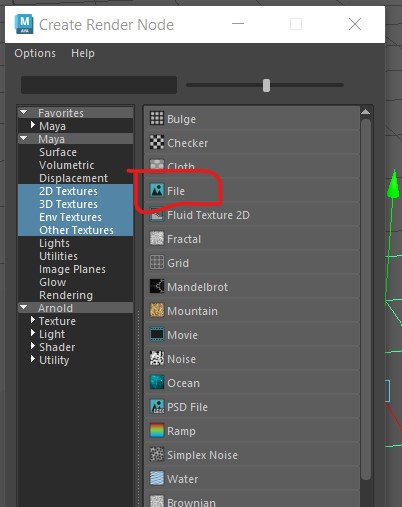
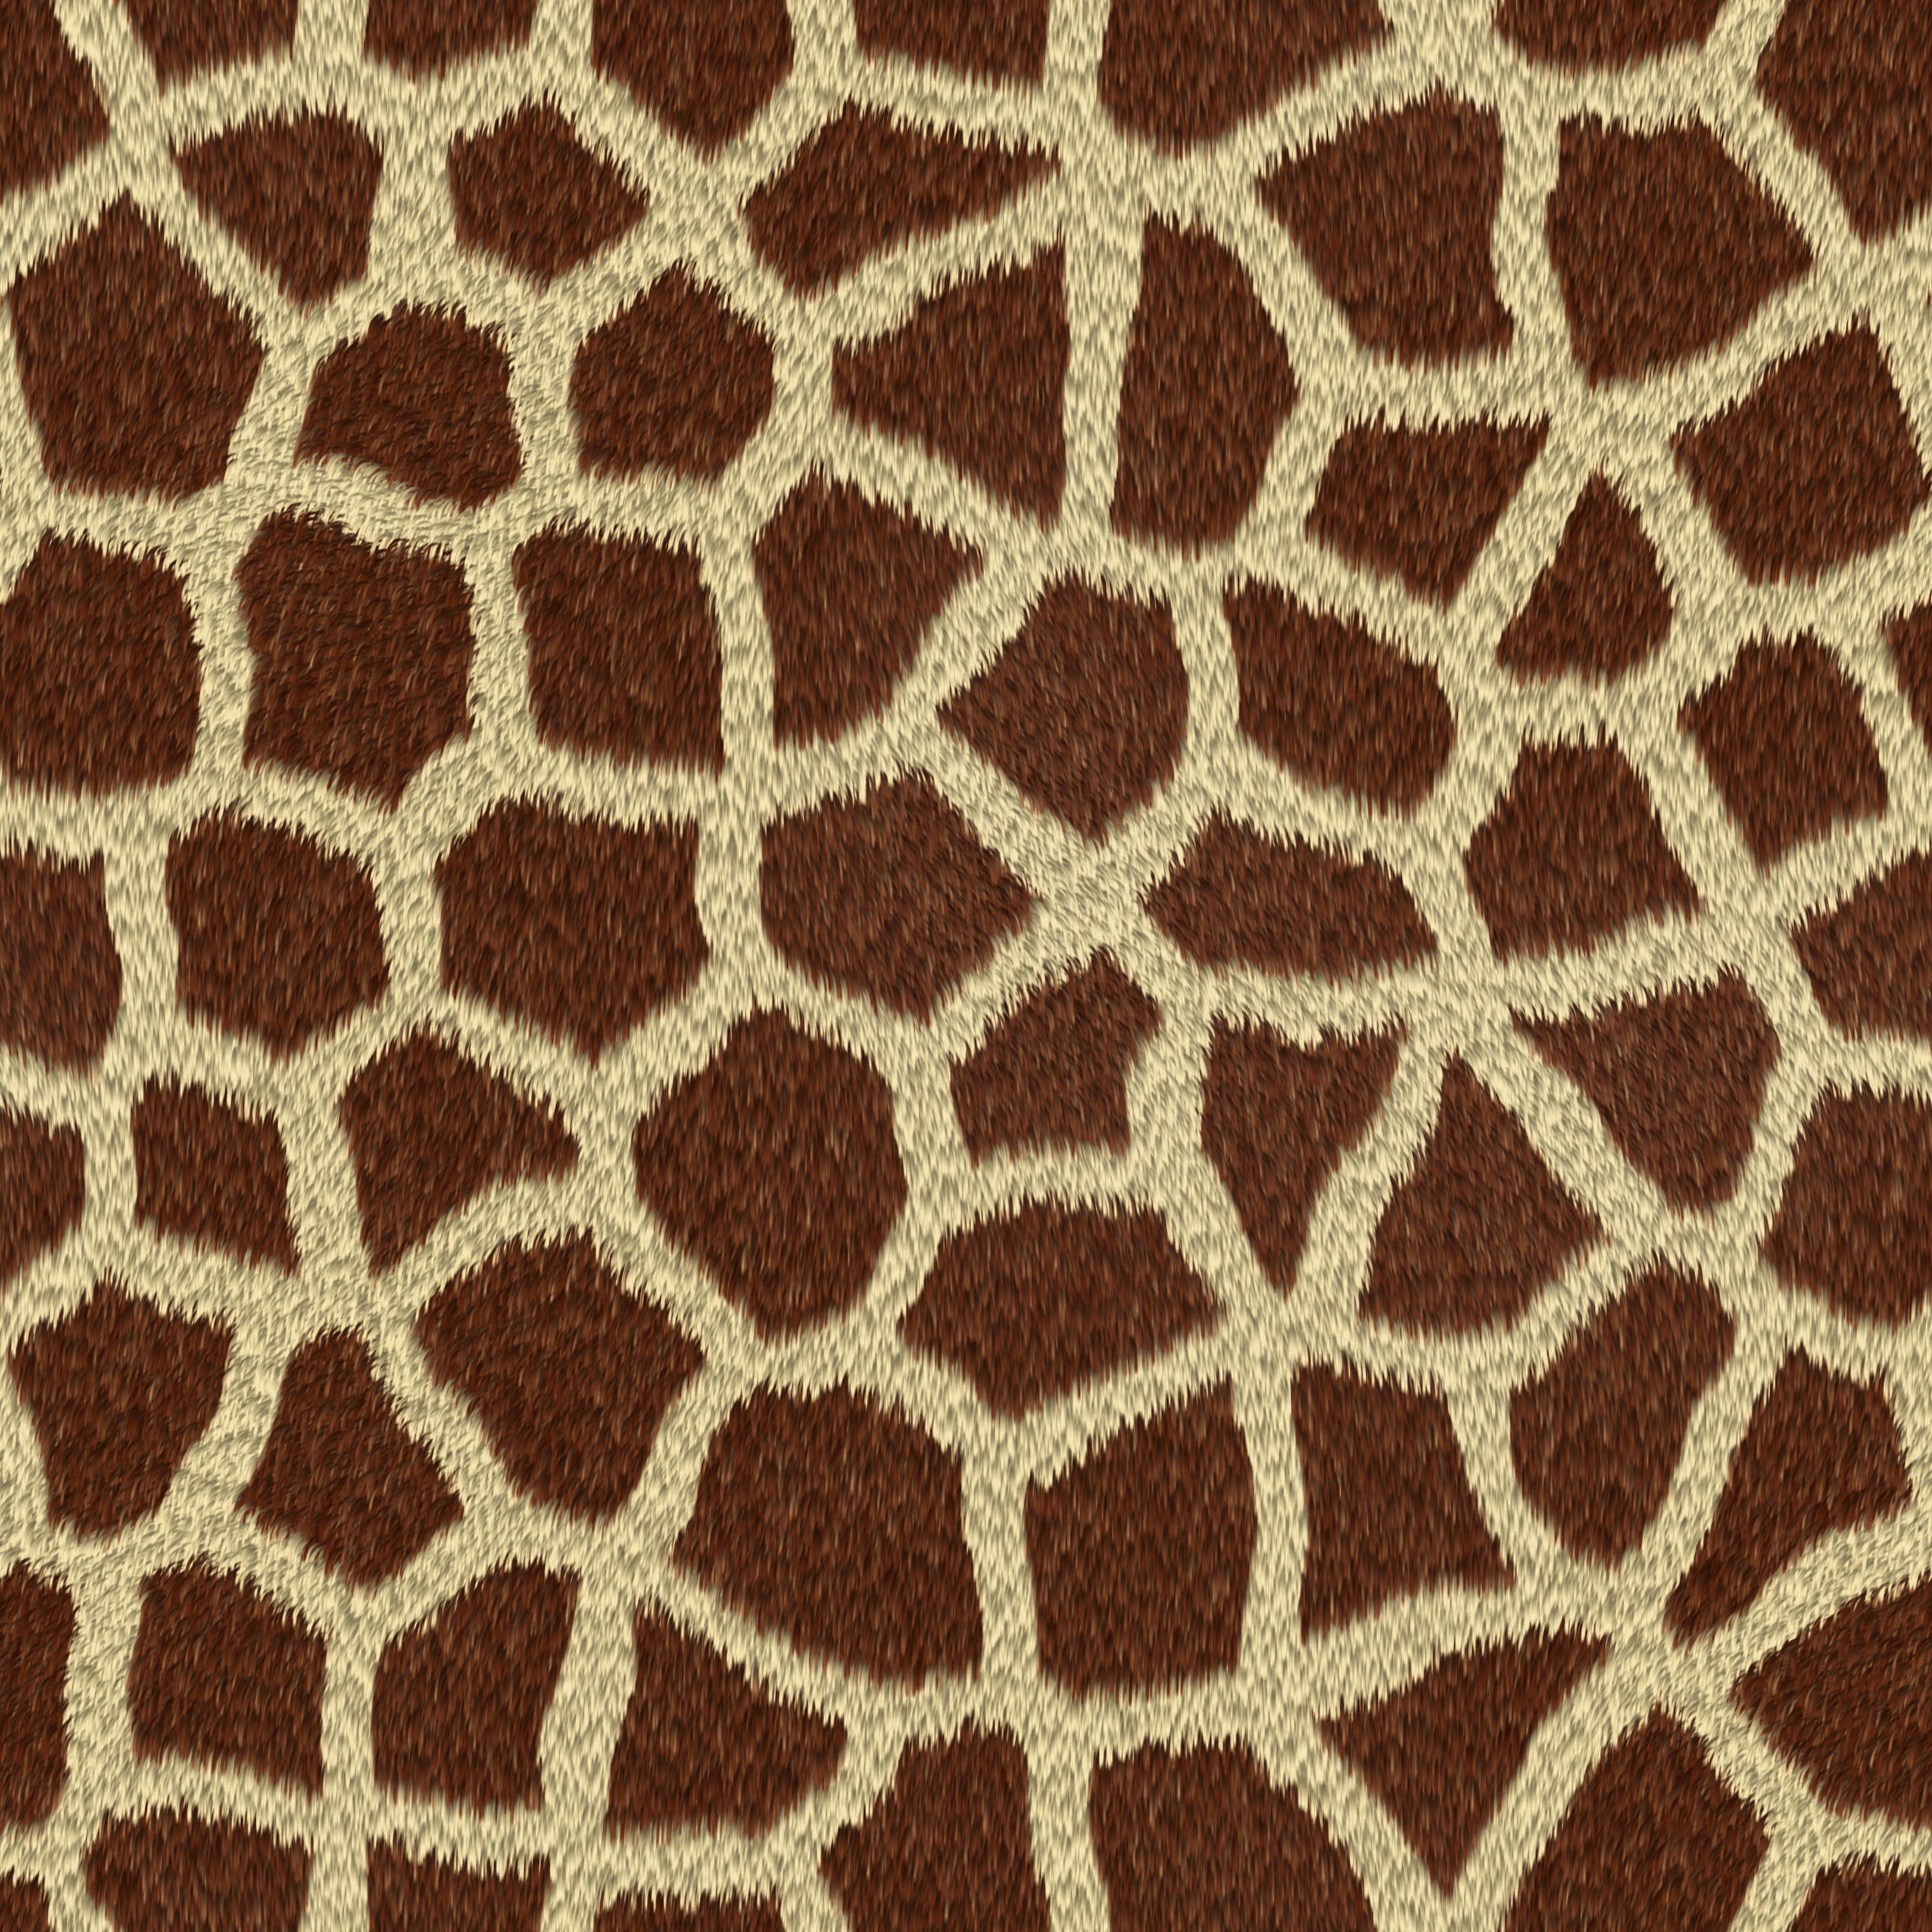
- Instead of a colour, we want to use an image.
- Download the giraffe print image
Giraffe texture
-
Save it in the same folder as your scene. this is really important as
the image will be loaded in each time you open Maya.
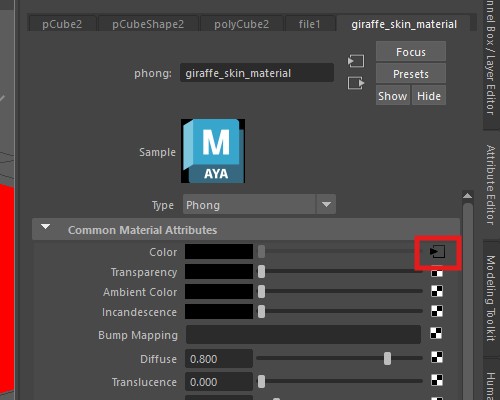
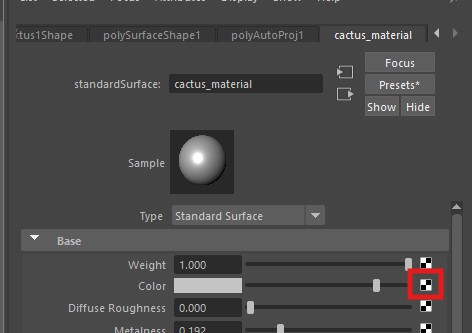
- Click the black and white button next to Color
-
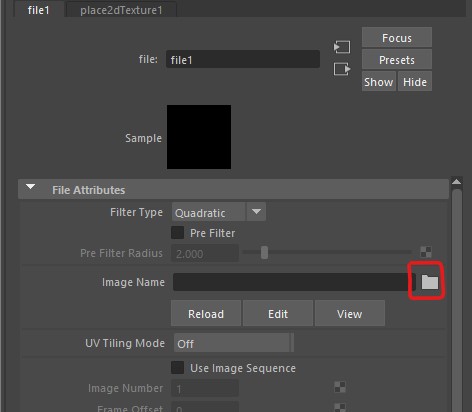
Click on the folder icon and find the giraffe pattern you downloaded
earlier.
-
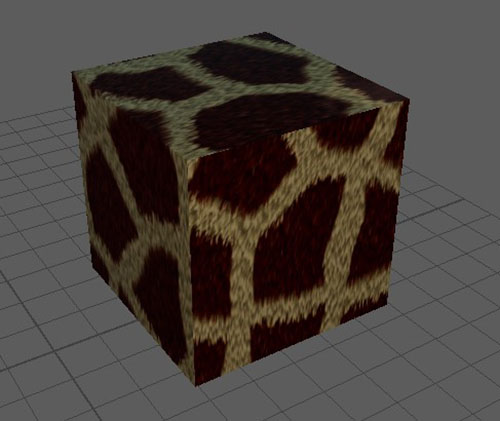
Check the textured icon at the top of the panel is
active.
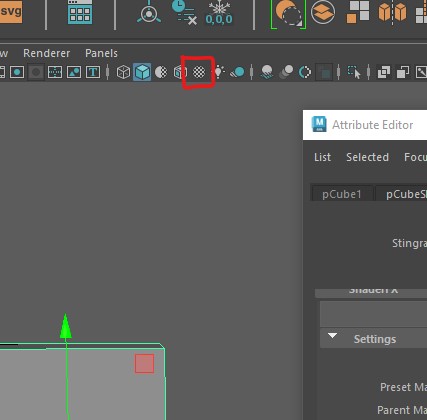
- You should now see the pattern applied to your cube
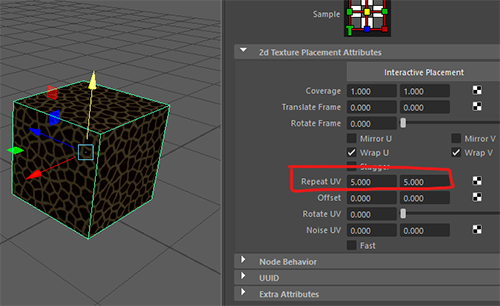
Change the scale
We now want to scale the pattern
-
go back to the material attributes by right clicking on
the cube and selecting Material attributes
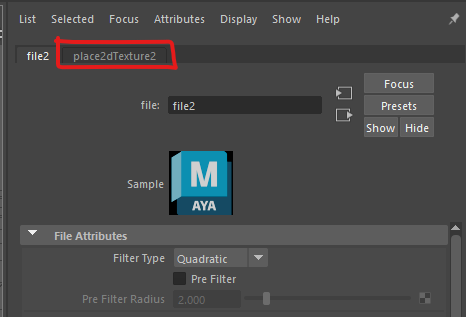
press the image arrow next to the colour
- Then the place2dTexture tab
-
Then changing the Repeat UV values, it is a good idea to keep them the
same to avoid stretching the texture.
Import a model
We are now going to apply a texture to more complex object.
- Download the cactus fbx file
cactus fbx file
-
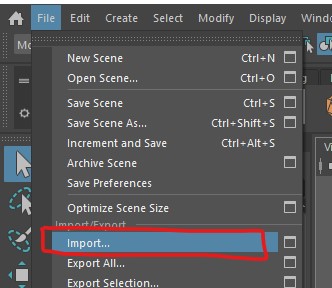
Import the model into Maya by choosing File > import
- Move the model so it is not on top of the cubes.
Prepare the model
To apply an image texture to a more complicated object we first need to
prepare the model so that the textures appear correctly.
Part of this process is UV mapping which we will do shortly, but before
this we need to clean it up.
Delete history
The history keeps track of changes you make to your model but can make
your outliner and uv mapping more complicated.
- Important - If you are working on your own model, save
a copy before you delete the history so that you can go back if you need
to.
-
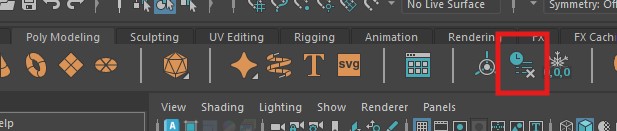
Delete the history of the cactus by selecting the pot and cactus and
pressing the Delete history button in the Poly Modeling
tab
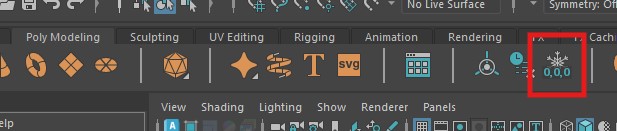
Freeze transforms
When making your model you may have scaled some of the pieces. Before uv
mapping, the scales all need to be reset to 1. To do this select the
cactus and press the Freeze transforms button.
Apply a material
-
Select the cactus and apply the giraffe skin texture by right clicking
and choosing Assign Existing Material >
giraffe_skin_material
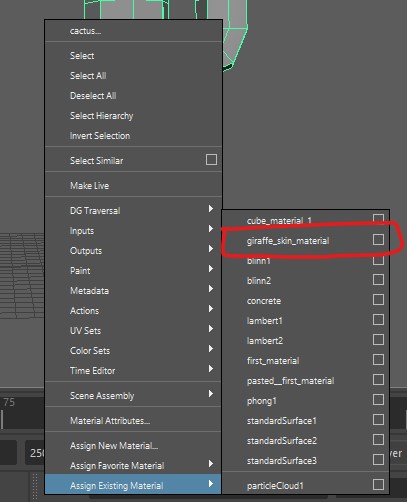
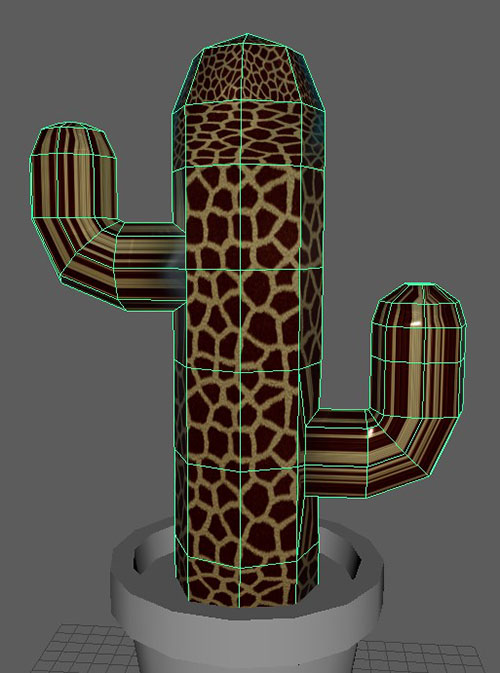
You should now see the material on the cactus, but it may look distorted
and stretched. This is because it has not been UV mapped.
UV mapping
UV mapping should be done after you have completely finished modeling. If
you make any changes to your mesh you may need to re-map all or part of
your model.
The easiest solution to this is to use automatic mapping.
-
With the cactus still selected, select
UV > Automatic from the top menu
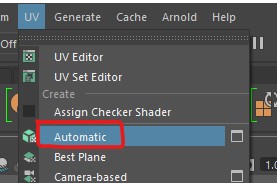
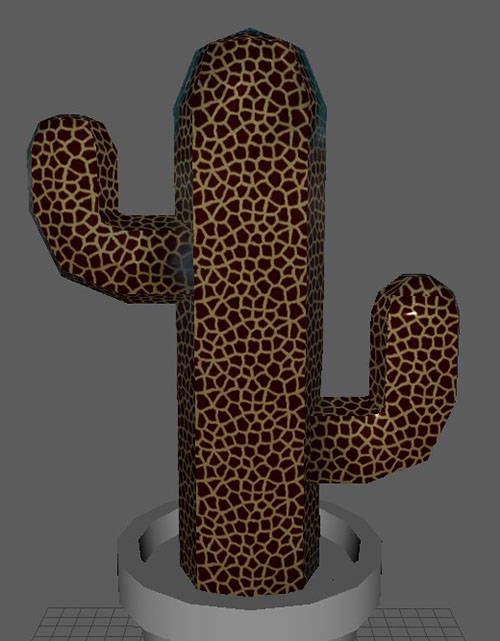
This should do a reasonable job at UV mapping the cactus for you
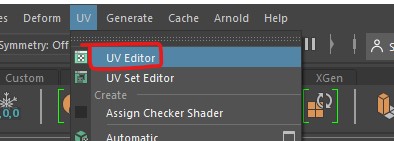
UV Editor
-
With your cactus selected, choose UV >
UV Editor from the top menu
This will open up the editor allowing you to see how automatic mapping has
laid out your UV's.
-
You can select uv faces in the UV editor and see their corresponding
polygon face in the perspective view
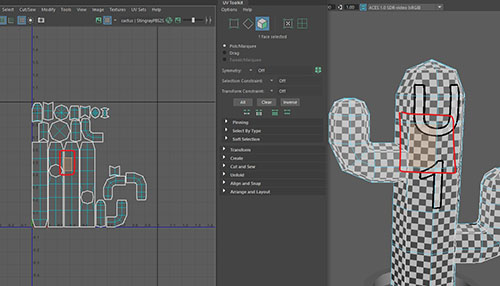
In this image you can see where the front of the cactus has been mapped
to.
Editing UV shells
Automatic mapping splits the surface of the model into different uv
shells. It does a reasonable job, however, it is not very smart and can
splits the model into more uv shells than necessary.
If you have a seamless texture you will see joints in the texture between
shells.
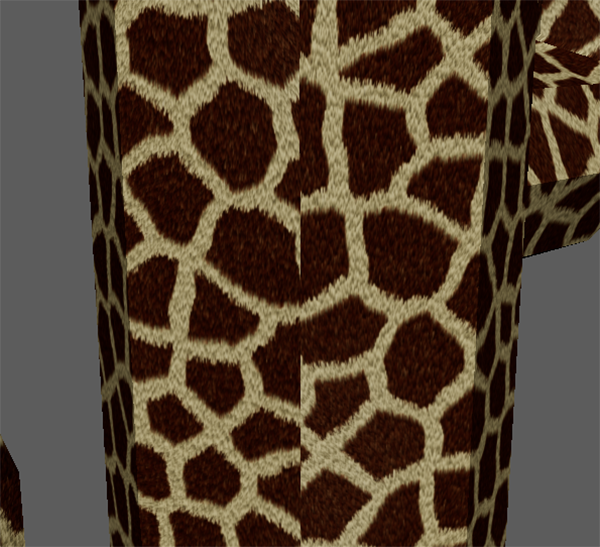
You cannot avoid joints entirely, however, if you manually uv map your
model you have more control to hide the joint.
-
If you would like to manually map your own model, please watch my UV
mapping video on Blackboard (learning materials > Maya content >
extra videos)
For this worksheet we will continue with what the automatic mapping has
given us.
Create your own texture
We are now going to export the UV's and open them up in PhotoShop and
create our own textures.
Create a snapshot
Each piece is called a UV Shell.
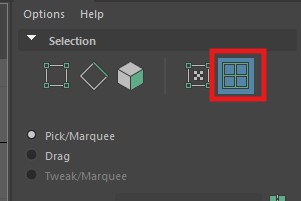
-
In the UV editor Press the
UV Shell Selection button in on the right.
-
Use the mouse to select all the uv shells by drawing a square around
them.
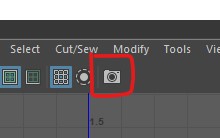
-
Now Take a snapshot of the UV's by pressing the camera icon at the top
of the editor.
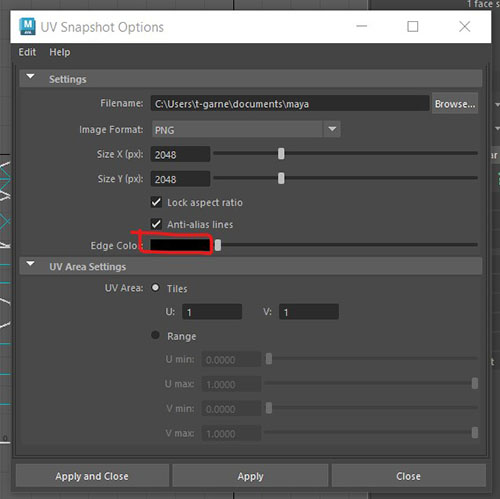
-
Save the snapshot to the same folder as your scene. make sure it is set
to png and the edge colour is black.
Open the snapshot in PhotoShop
- Open PhotoShop on your machine
- Use PhotoShop to open the snapshot you just created.

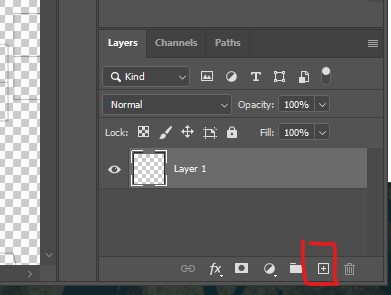
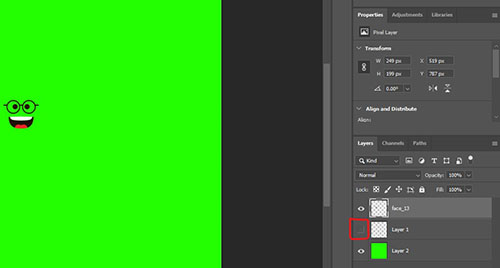
Layer 1 is your snapshot.
-
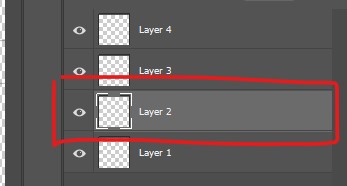
Create 3 new layers by clicking the plus button at the bottom right of
the screen.
- Layer 2 is going to be our background, click on it to select it
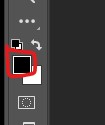
-
Choose a green fill colour by double clicking the little black square at
the bottom left of the screen and choosing a green colour.
Add a face
- Download one of the following face image
face image 1
face image 2
face image 3
face image 4
face image 5
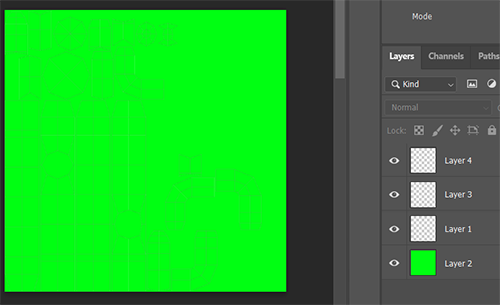
- Click on layer 3 in PhotoShop to select it.
-
Drag the face image file into PhotoShop and drop it in the middle of the
screen
-
Drag and scale it so that is in the right position on the snapshot.
-
We want to hide the initial snapshot image before we export, so press
the eye icon next to layer 1 to hide it.
-
Export the image by selecting
File > Export > Quick Export as PNG and save it
in your principles of 3d folder. name it "cactus_with_face"
Apply the new texture to your Cactus
- Go back into Maya
- Close the UV editor panel if it is still open
- Select your cactus
-
Assign a new standard surface material as you did
before.
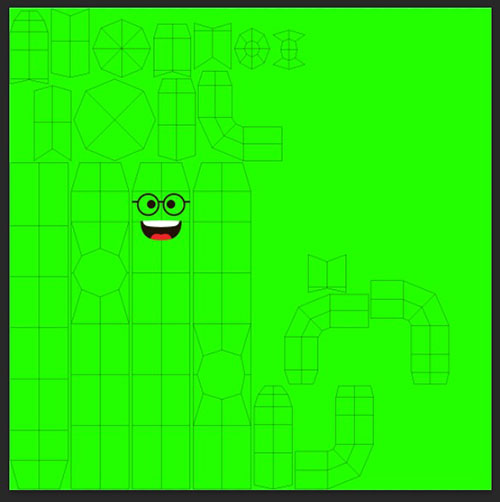
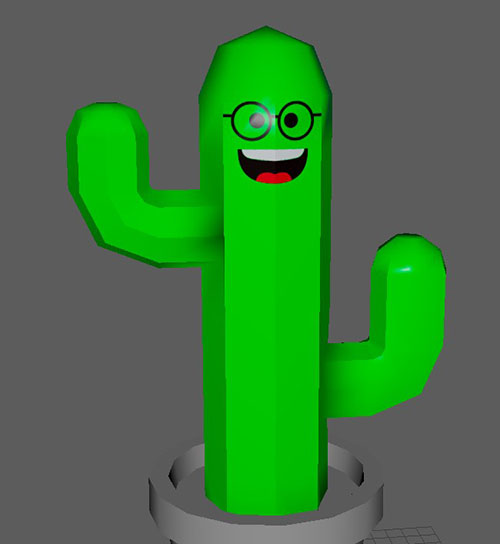
Look at your applied texture
- Your finished cactus should look something like this
Extra Challenges
-
Find a seamless stone texture online and apply it to the cactus pot.
A good source of free textures is
ambientcy.com
- Texture your pear or robot from the previous worksheets.
Final Challenge
-
Watch the manual UV mapping video on Blackboard and try to manually map
the cactus and reapply the texture.