This is important as we are now using multiple files and need to keep them together.
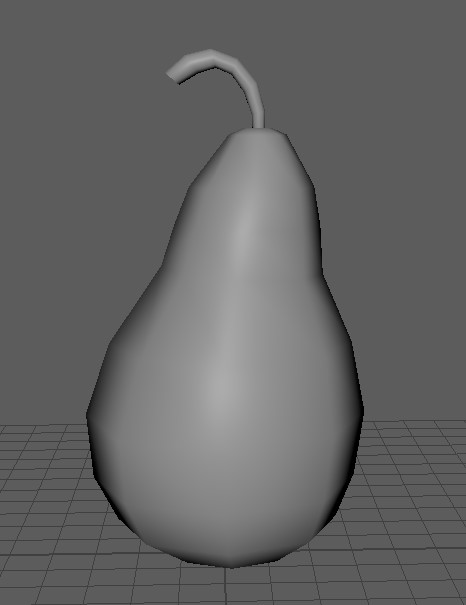
In this worksheet we will model from a reference image, we will make a low poly pear, but this technique is very useful for accurately modeling anything from 2D reference images.
You can work from sketches for your own project, but we will work from a photo.
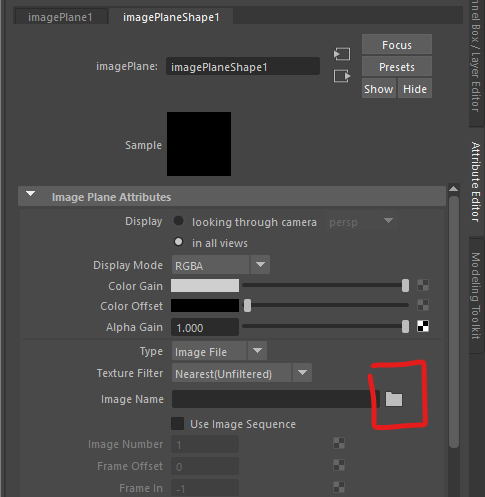
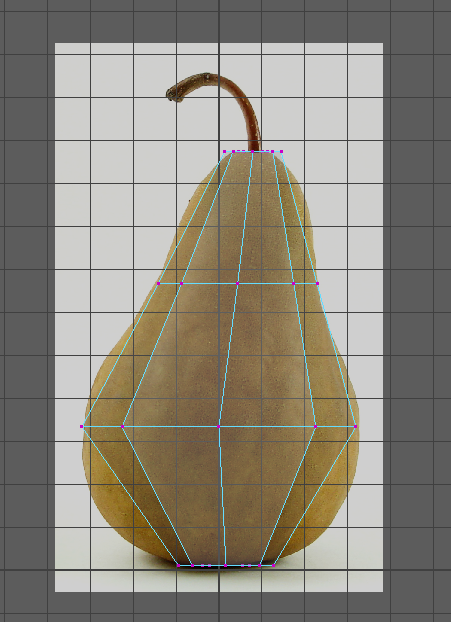
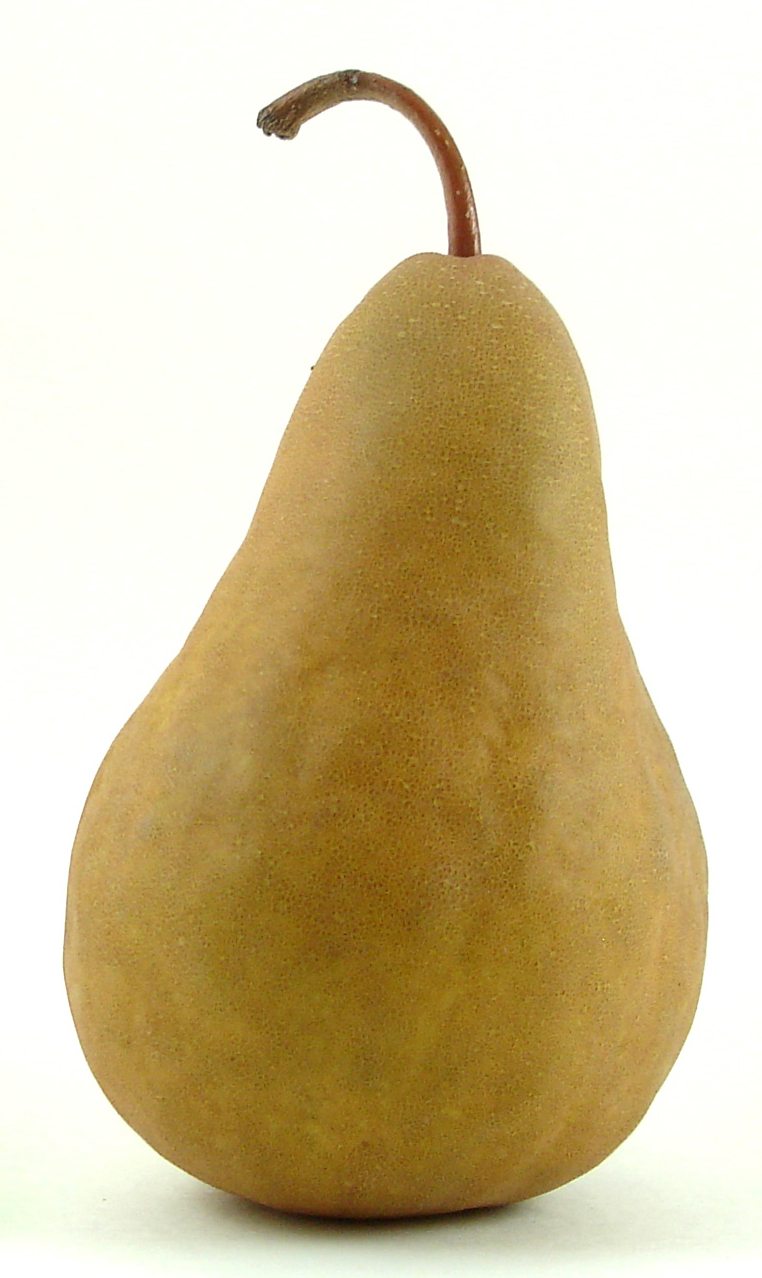
We will use this front view of a pear, for more complex models you may also want to use a top and side view.
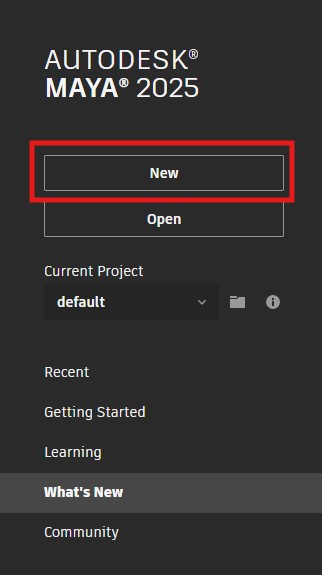
In Maya
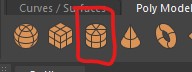
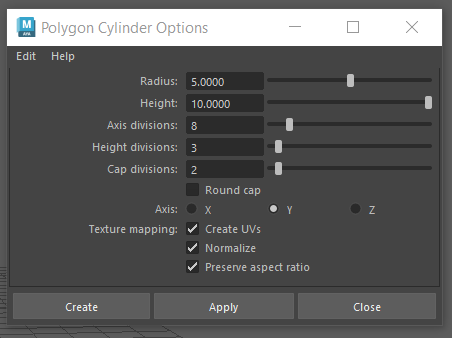
Create a cylinder with the following properties:

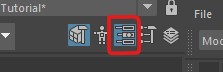
You can now enter X-Ray mode so you can see through your cylinder.

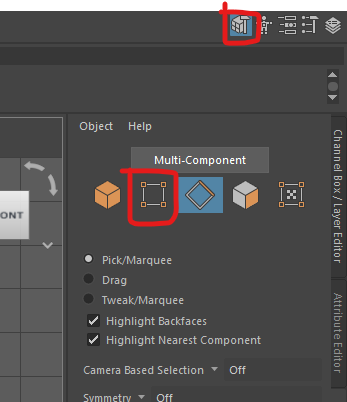
Or, if you want to work more quickly you can hold down the right mouse button, then move it and let go over the vertex button.

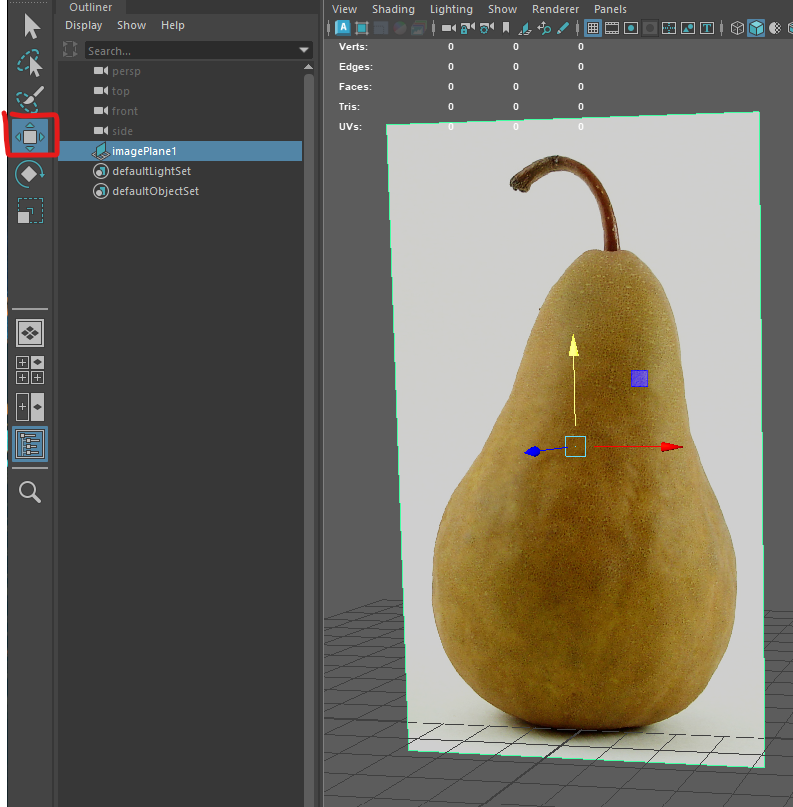
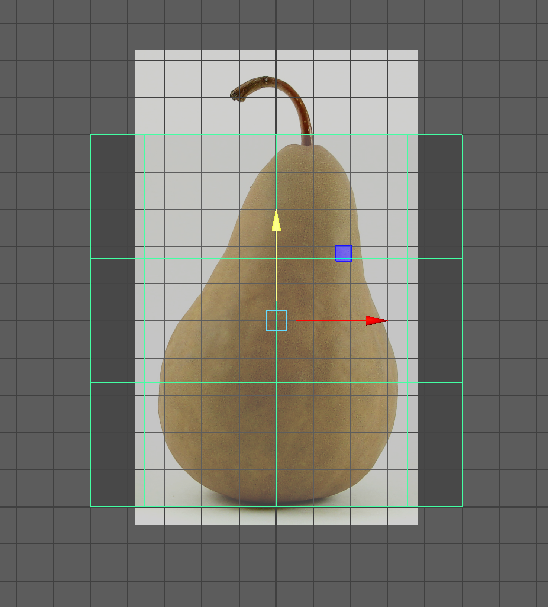
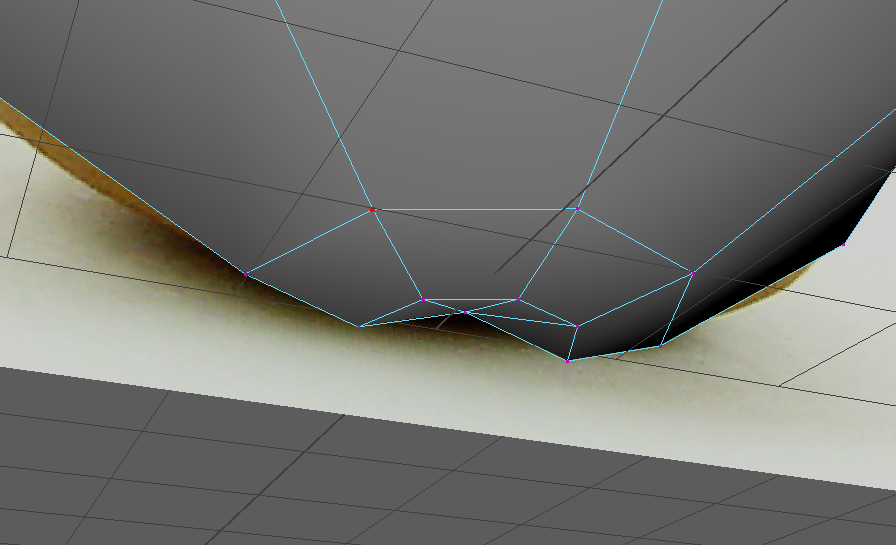
We can now scale down the vertices to match the shape of our pear reference.
Do not use the right hand red square, as it will only scale the shape in one dimension
Before we go further we now want to check our model in perspective view to make sure it looks OK.
Press the space bar, and then hover over the perspective panel and press it again to go back into perspective view.
Check that the shape is even and you have not accidently squashed it in one dimension.
We can now add extra edge loops to improve the model.
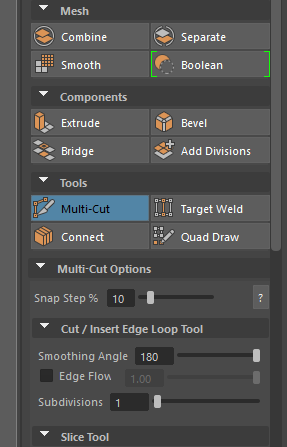
Press "q" to quit out of the tool.
Scale these new edge loops as before to improve the shape.
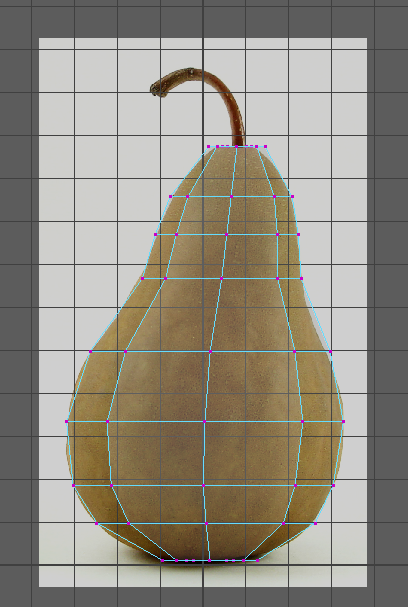
Your pear will look quite faceted, with hard corners, you may like this low poly look or you can soften the edges to make it appear rounder.
Pull up the top edge loop to create a depression in the top.
Do the same thing on the bottom.
As we are making an organic object, we do not want it to be too perfect.
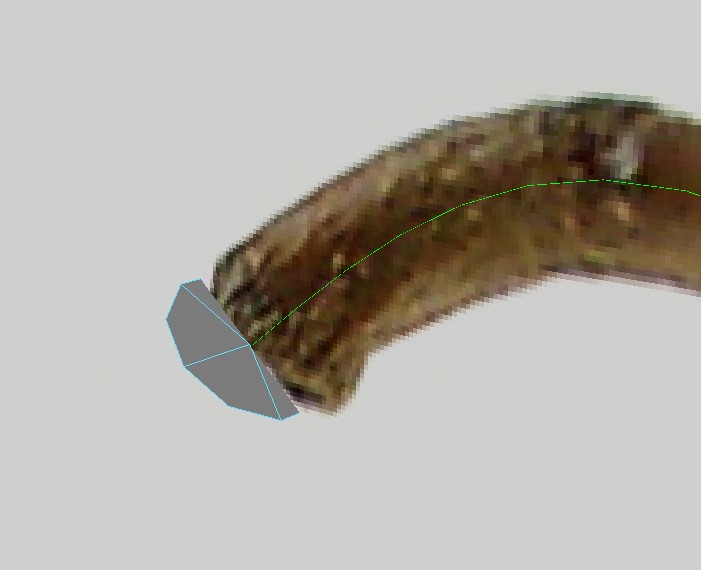
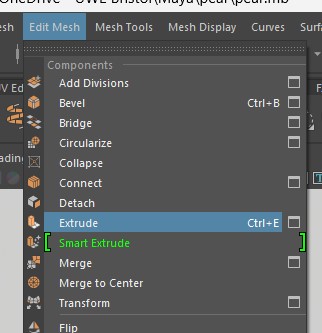
We can now move onto the stalk, modeling it as a separate object.
To make this we will first create a curve, then extrude a polygon following the path.
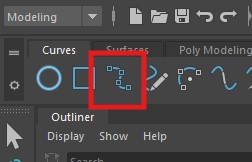
Select the EP curve tool in the Curves tab.
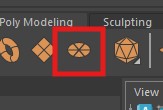
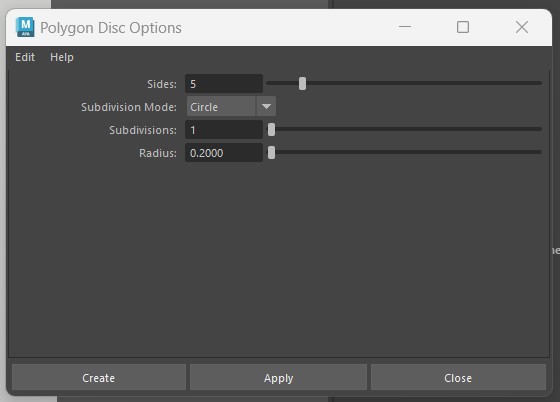
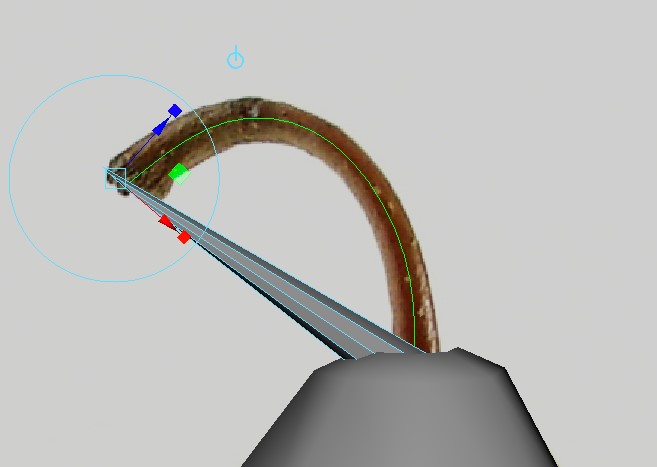
Double click to make a polygon disk.
Now go into face mode and select all the faces on the disk ( it won't work if you just select the whole object)
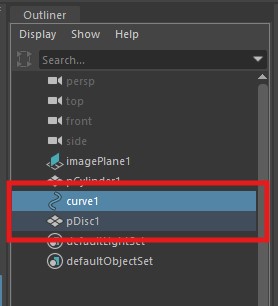
In the Outliner hold ctrl and left click the curve
The disk and curve should now be selected
Now we need to add some divisions
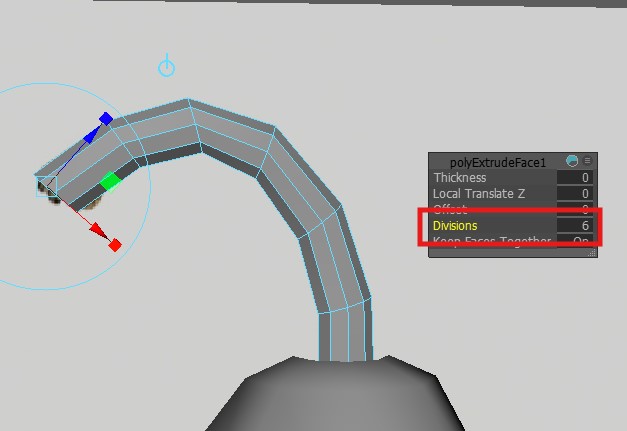
If you like, you can now scale and adjust edges and vertices on the stalk to make it look more natural.
When you have finished, you can hide the reference image by selecting it and pressing "h" (select it the outliner and press "h" to show it again).
Save you work.